How I create, execute, and edit my creative ideas!
INTRODUCTION:
Whenever I’m browsing the comment sections of my social media posts, I’m stuck by the number of fans who really want to know how I create my artwork.
Sometimes they’re curious about my ideas, and how I come up with them. But mostly they want to know about the technicals. They want to know exactly how a shot or performance is created, and how I edited it to produce a final product.
So with that in mind, today I’m going to answer those questions for you and walk you through how I developed, created, and executed on the idea of my paint pour videos.

THE SERIES:
The “Paint Pouring” series really began as a fun side project I could do with my son Giac to help him explore his creativity, while also helping him learn a healthy coping mechanism and outlet for some of the frustration he had managing his emotions.
Giac has always loved my performance art, and I thought it would be a wonderful way for the two of us to collaborate on a project while secretly teaching him how to turn his emotions into art.
The initial idea was to have Giac pour paint on me using a creative color combination, while also recording the whole process and then take photographs of the final creation.
It was a blast to create, and the two of us really loved the process. But I guess it really resonated with my audience because it was incredibly well received.
When I joined TikTok in 2020 I decided to share some of my early paint pour attempts with Giac, and it wasn’t long before some of those videos went viral and had 5M, 10M, and even 25M views!
We have created so many videos now and they have been seen by millions of people. I am truly blown away by the reception this project has received and we have had such a fun time doing it.
But enough about the finished products, here's how they are actually created:

STEP #1: MATERIALS COLLECTION
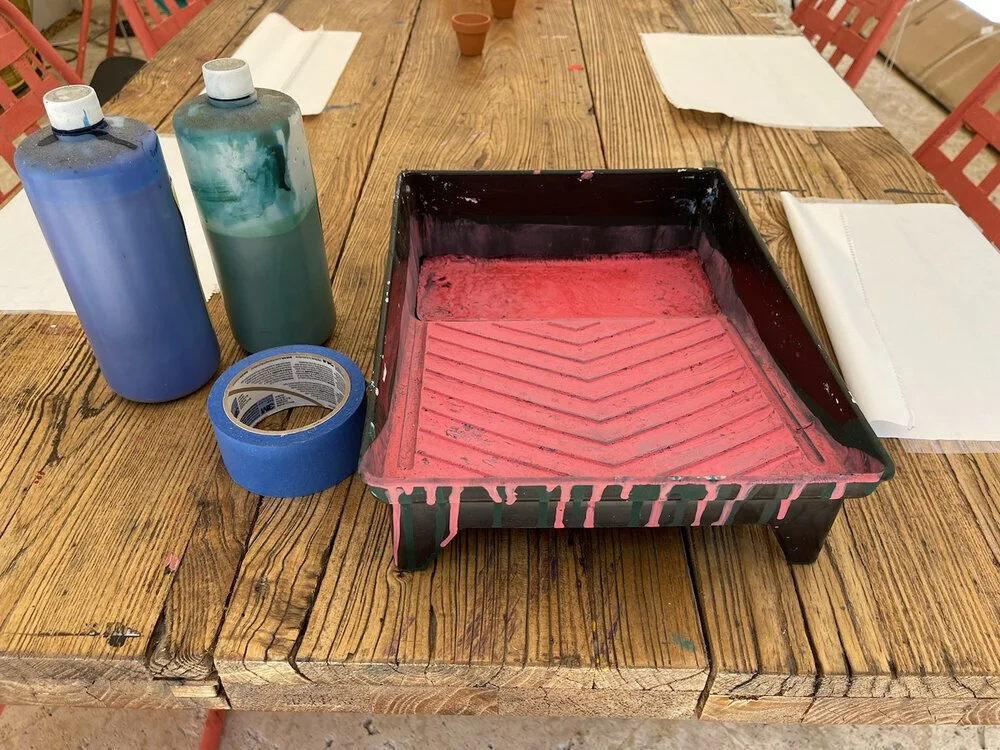
Before I even think about tossing paint, I find it helpful to gather all of my materials and get myself prepared for the creative process. There's nothing worse than forgetting a camera or paint color after I’ve got the paint tray half filled.
So I gather my paint colors, paint tray, ladder and the paper roll I’m going to be using as canvas. Then I grab a leotard and change into it before laying everything out in my workspace.
An organized artist is a happy artist!
STEP #2: THE SET UP
Once I’ve got all of my materials organized I pour the paint into the tray, tape my phone with painters tape above where I plan to lay and call my son.
I usually set up a second camera on a tripod to record the process from a different angle. Once I know everything is recording, I move the ladder, unroll the paper and lay down.
I use an Apple Watch to make sure my positioning is right. I fix hair and position based on what I can see through the watch, then I hand the watch to Giac so that we can begin.
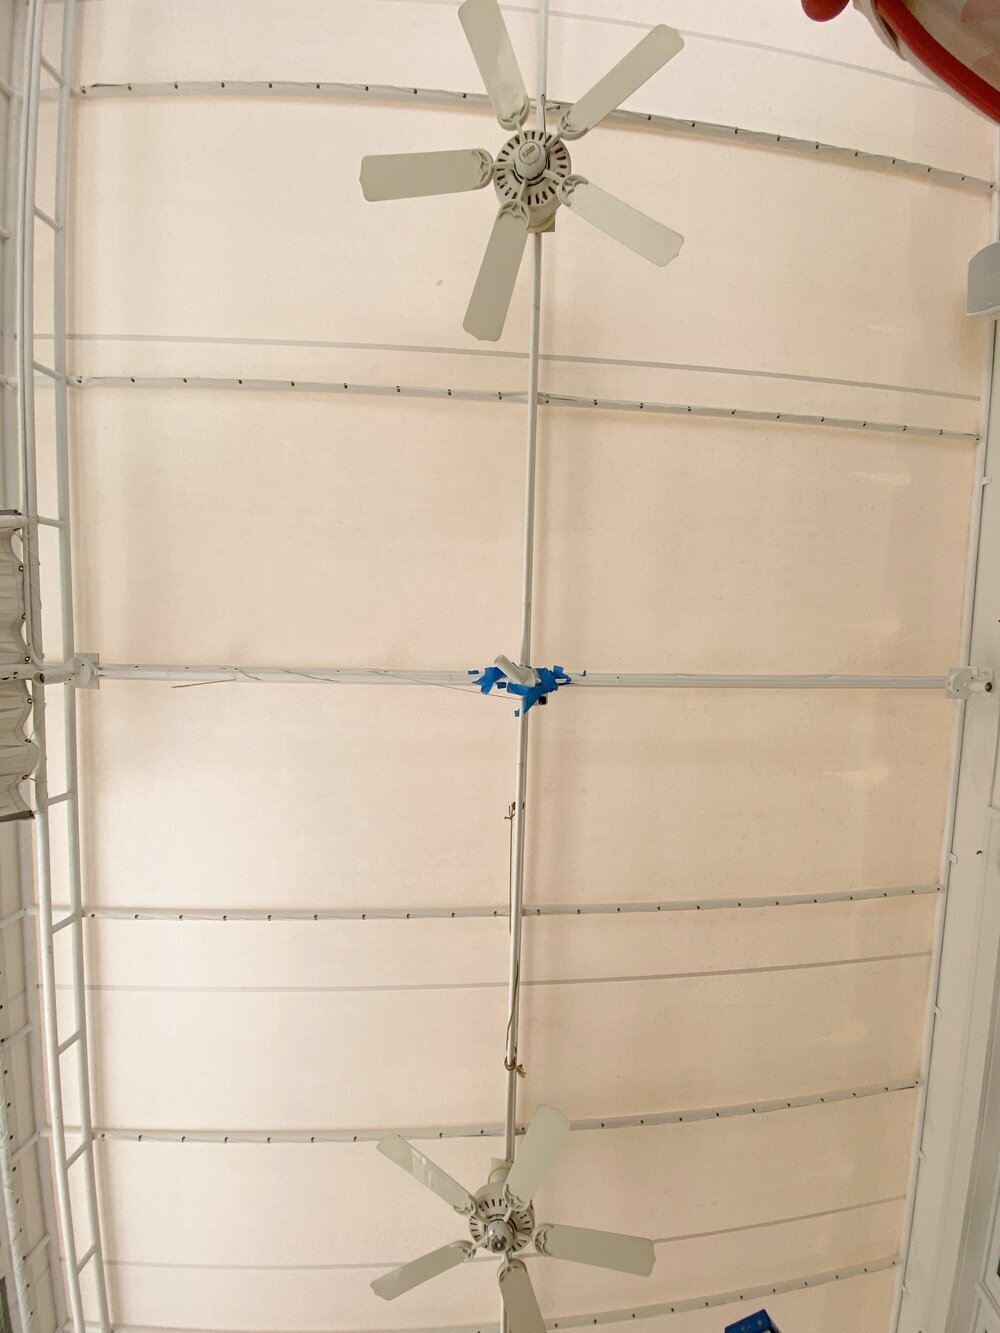
All of my paint pours start out with an iPhone tapped to my ceiling…

Here’s a closer look, just in case you missed my solution...
It may seem silly, but this is actually the best way to get my phone securely placed above me.
STEP #3: WE PAINT!
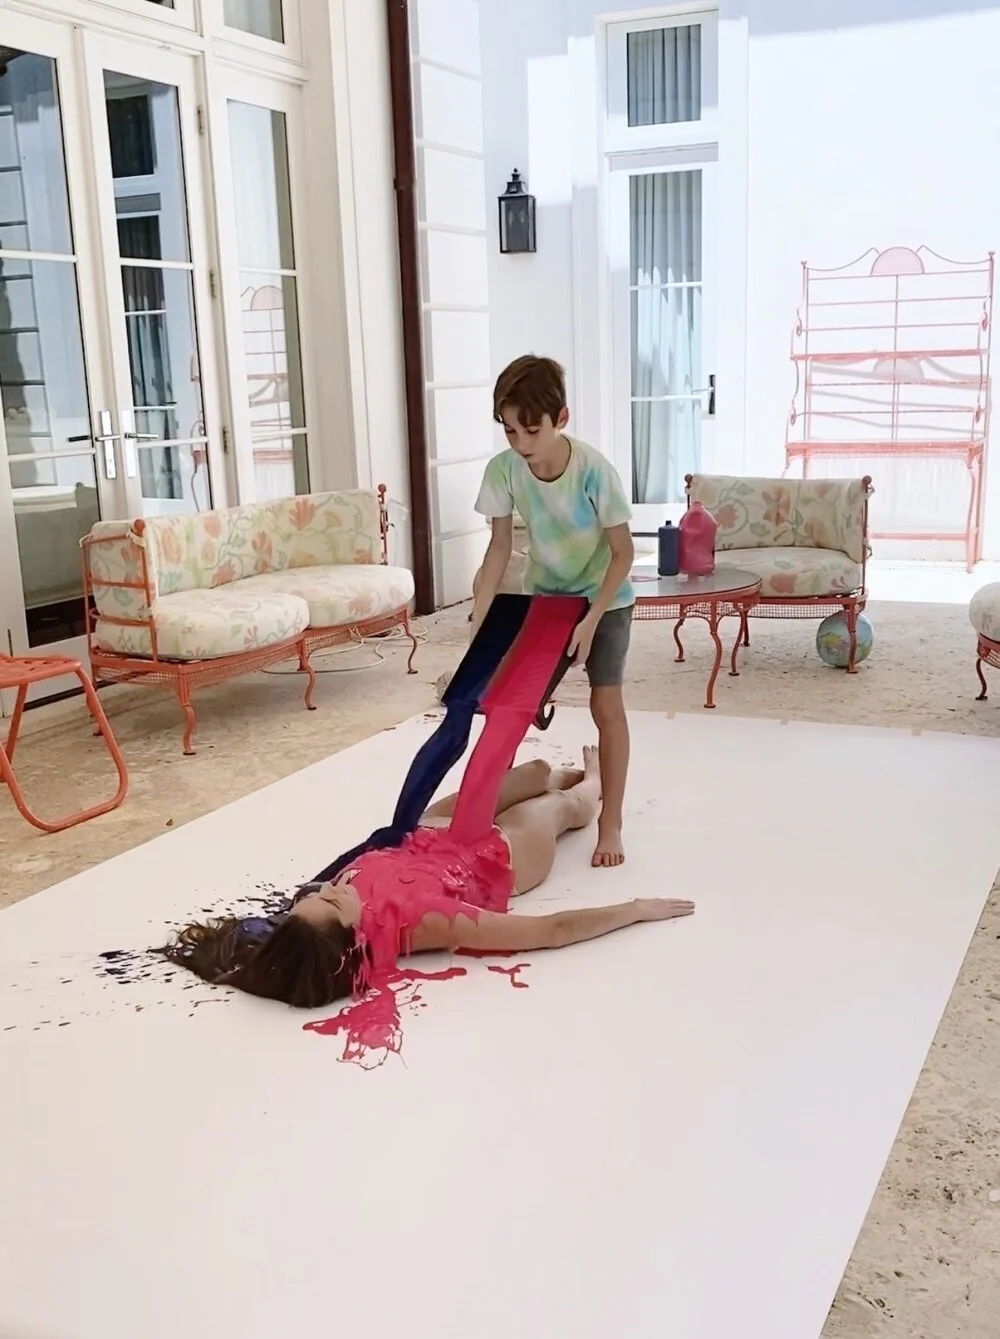
When we first started doing these we would discuss a plan ahead of time, but we quickly realized that the plan didn’t always materialize. So now we just go for it! Giac picks up the tray, walks towards me, and starts to pour the paint. But this is where his artistry really shines.
He’s the decision maker, the artist in control. Once Giac gets to my feet he is the one who decides if there is enough paint throughout the scene. If there isn’t then he makes the choice to splatter me with more and where.
Once he thinks the scene is perfect, he will put down the tray and pick up the Apple Watch to take pictures of me in different position.
We will go through a series of poses and make adjustments until Giac feels we’ve created something beautiful.
On certain occasions when I have my husband or a friend around to help, they will pull the ladder back out and take some pictures with a DSLR.
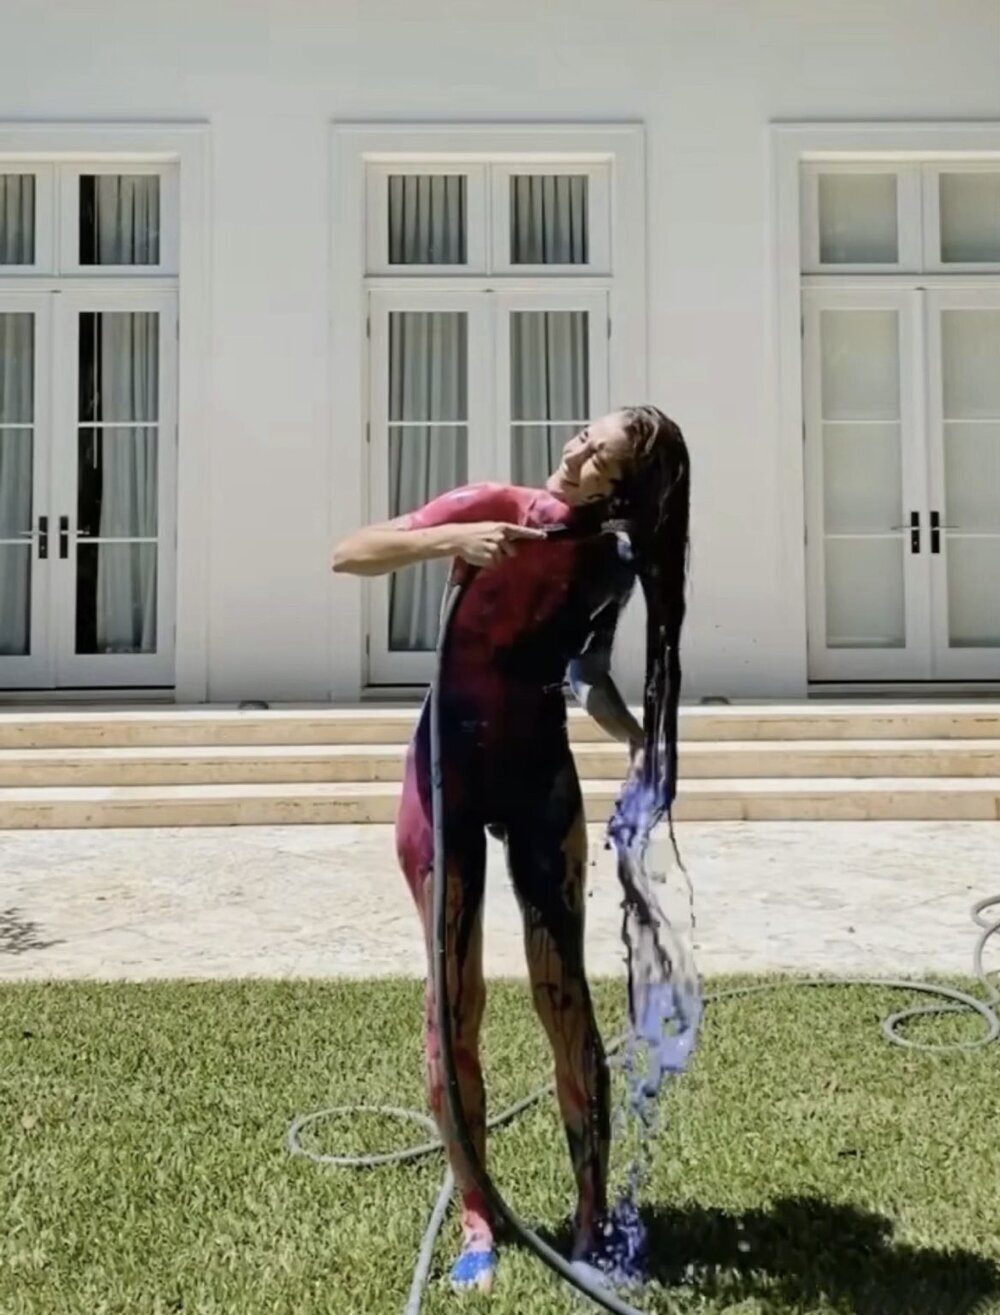
STEP #4: THE CLEAN UP
After we’ve taken all the shots we need, I’ll head into the yard and get the hose to hose myself off… then I’ll take a shower to get any paint I’ve missed and head back outside to clean everything up, roll the paper up, take the cameras down, and then use the hose to clean off any paint that got off of the paper.
STEP #5: THE EDITING PROCESS
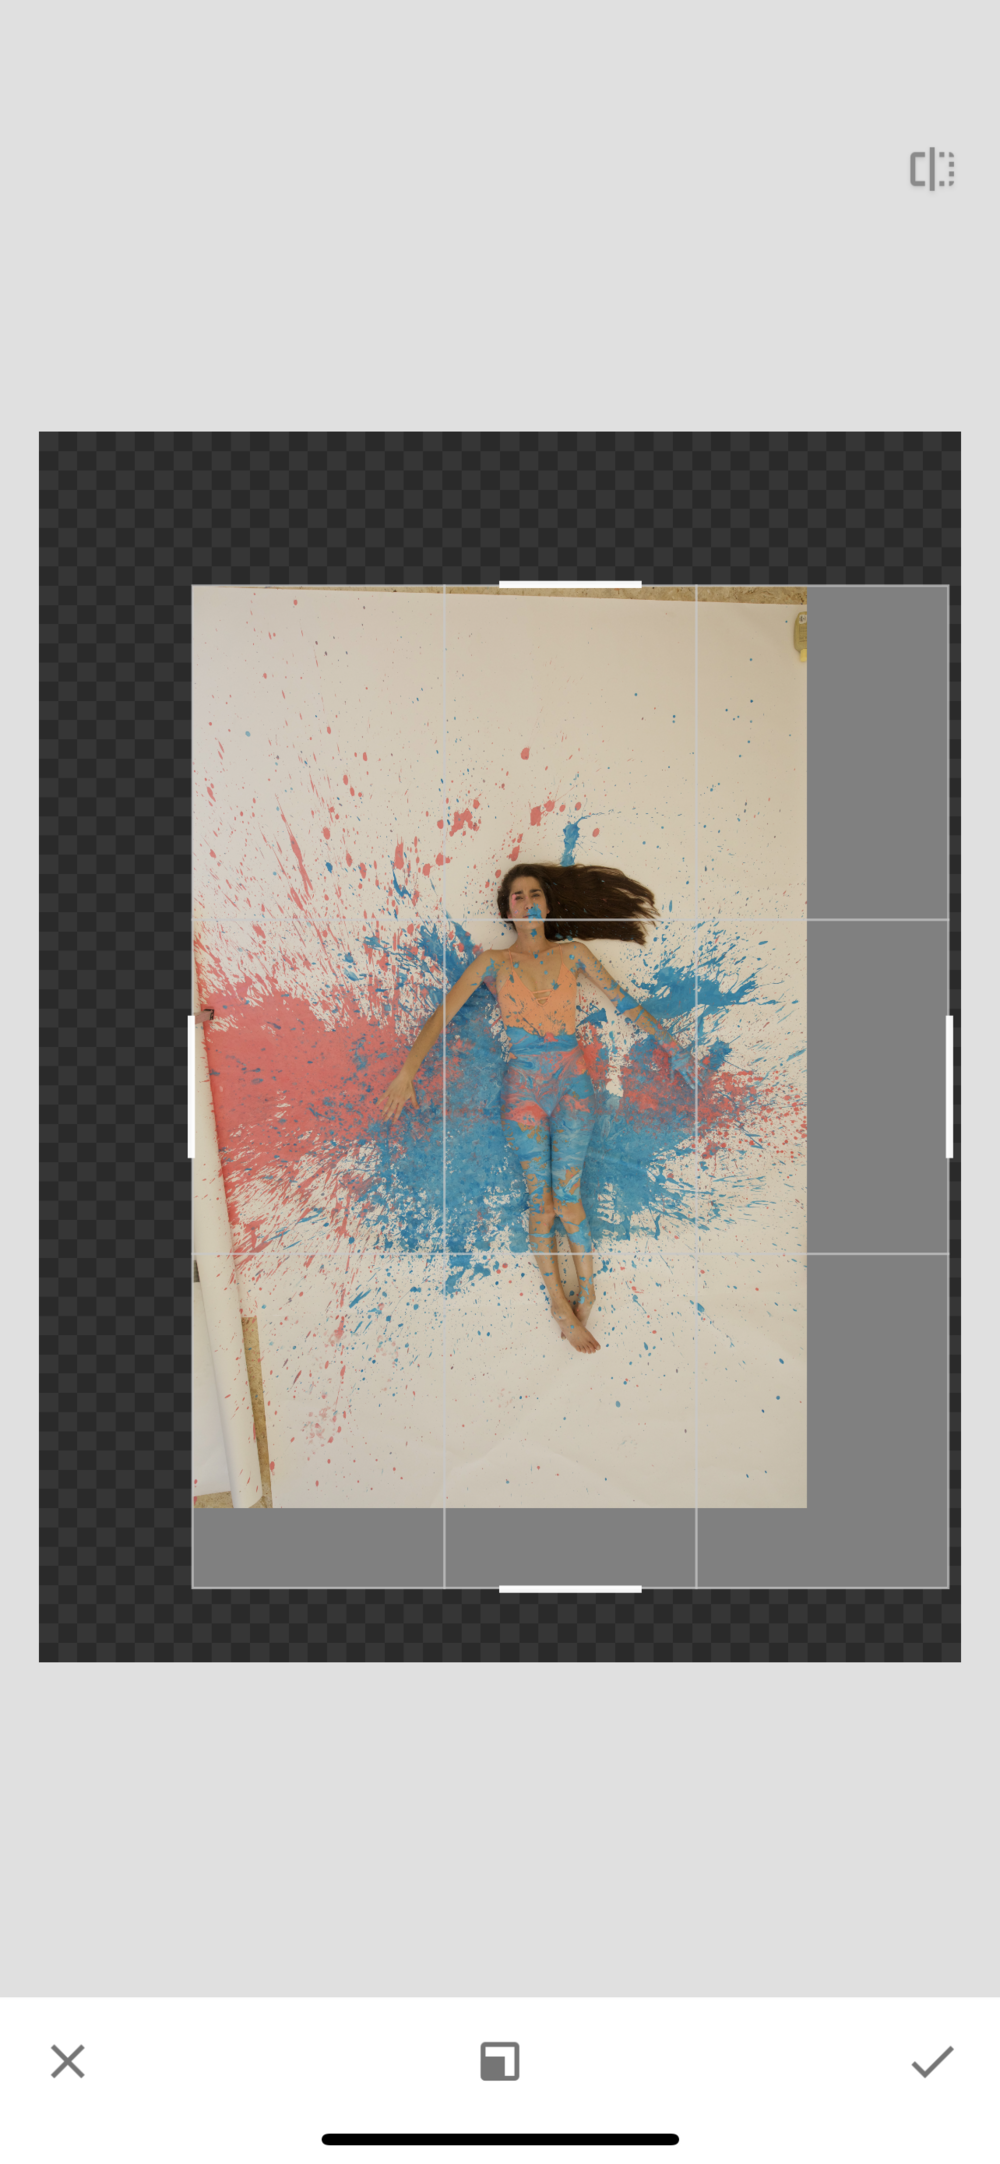
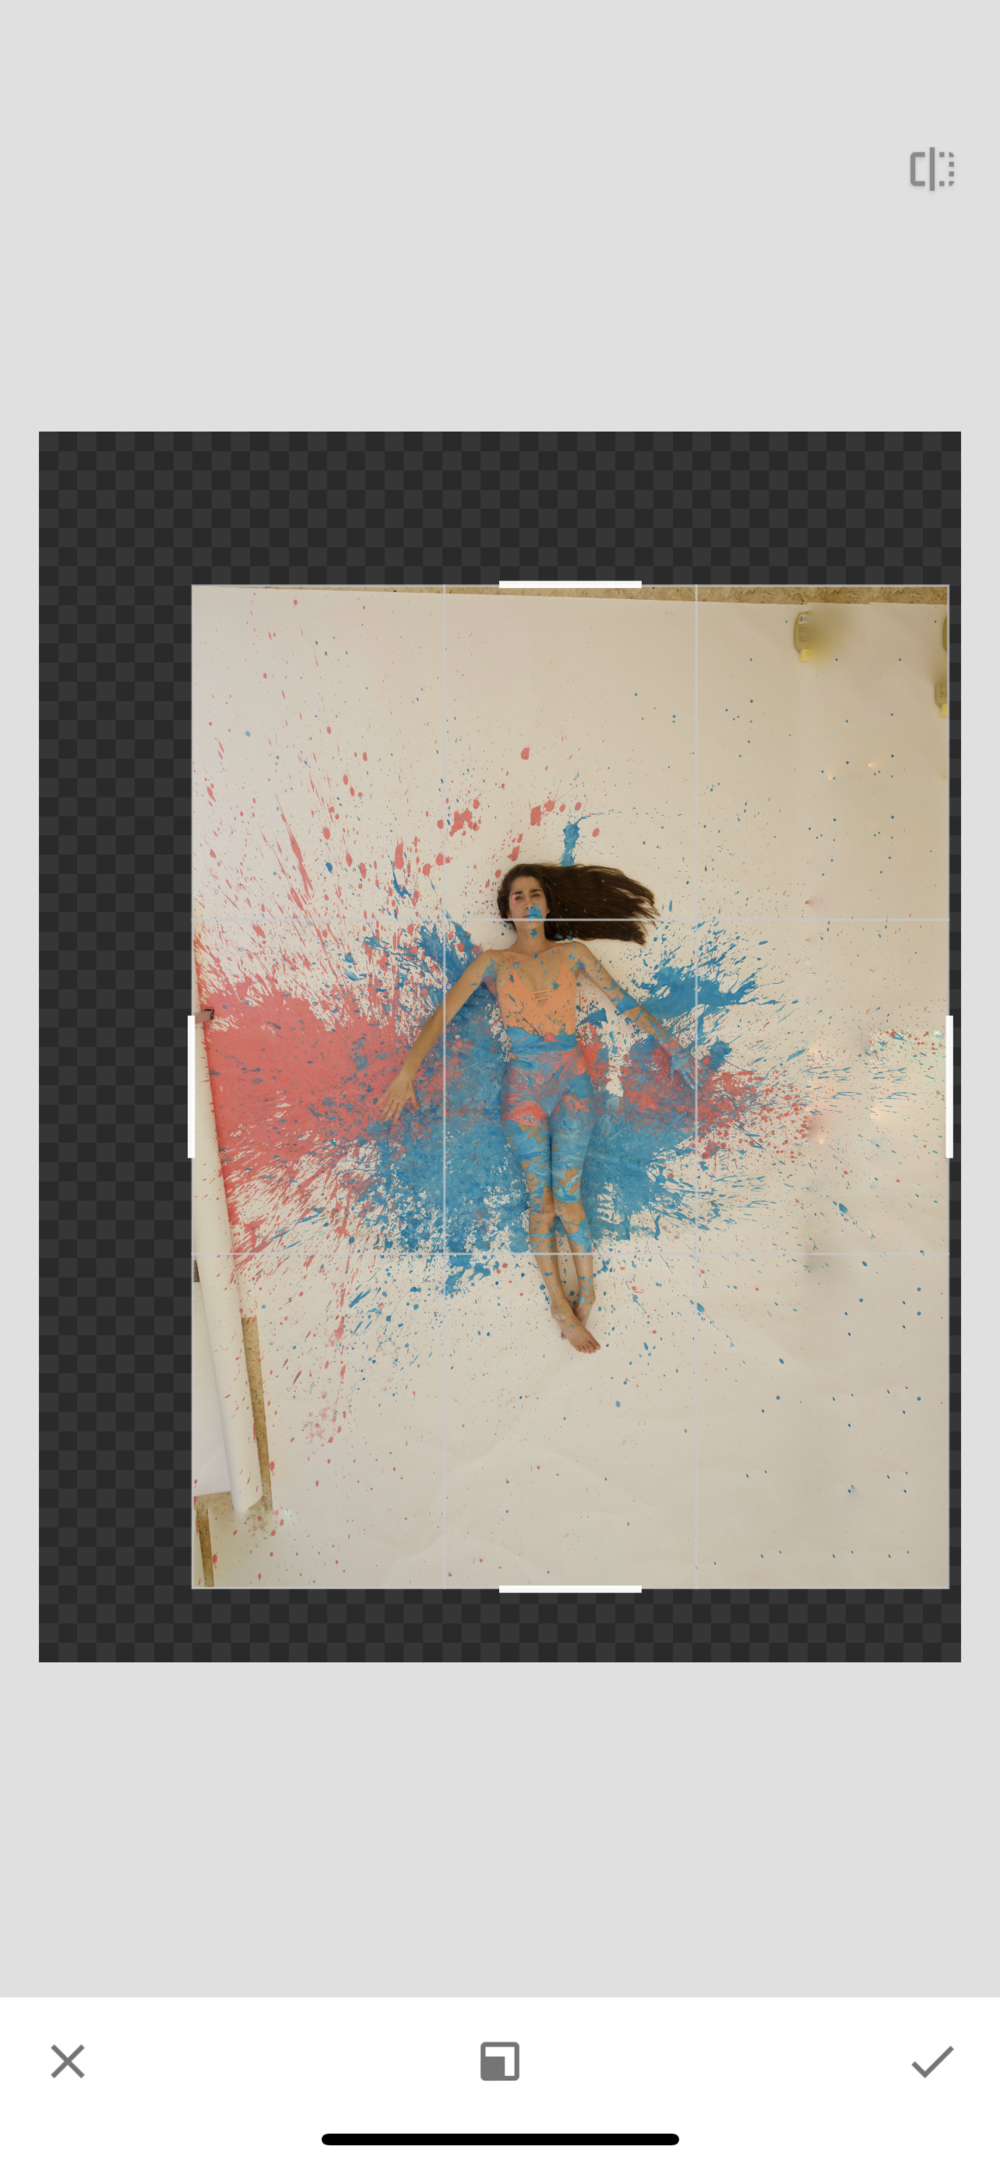
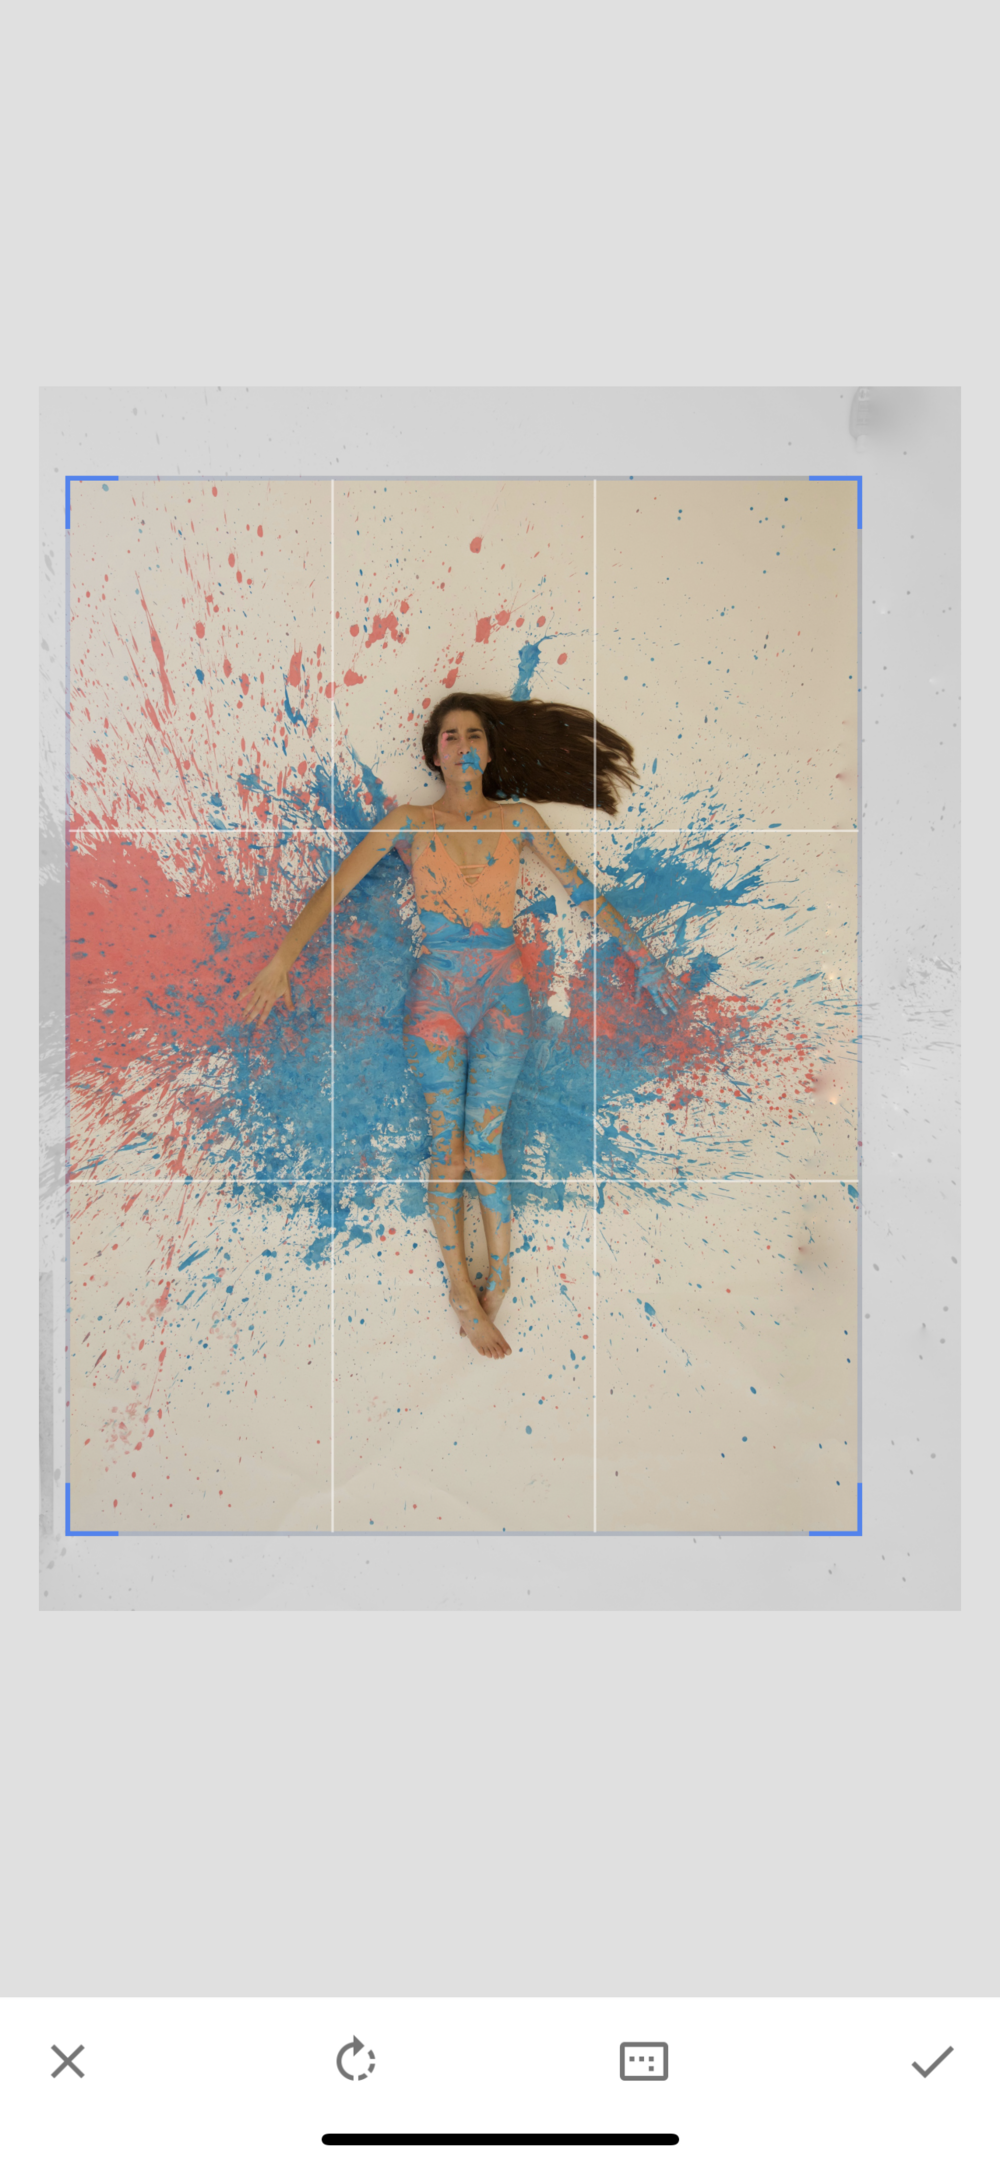
When editing a photo I often need to add a bit of canvas to give some extra breathing room and position myself perfectly centered in the frame of the shot. So I start with an app called Snapseed and extend where necessary.
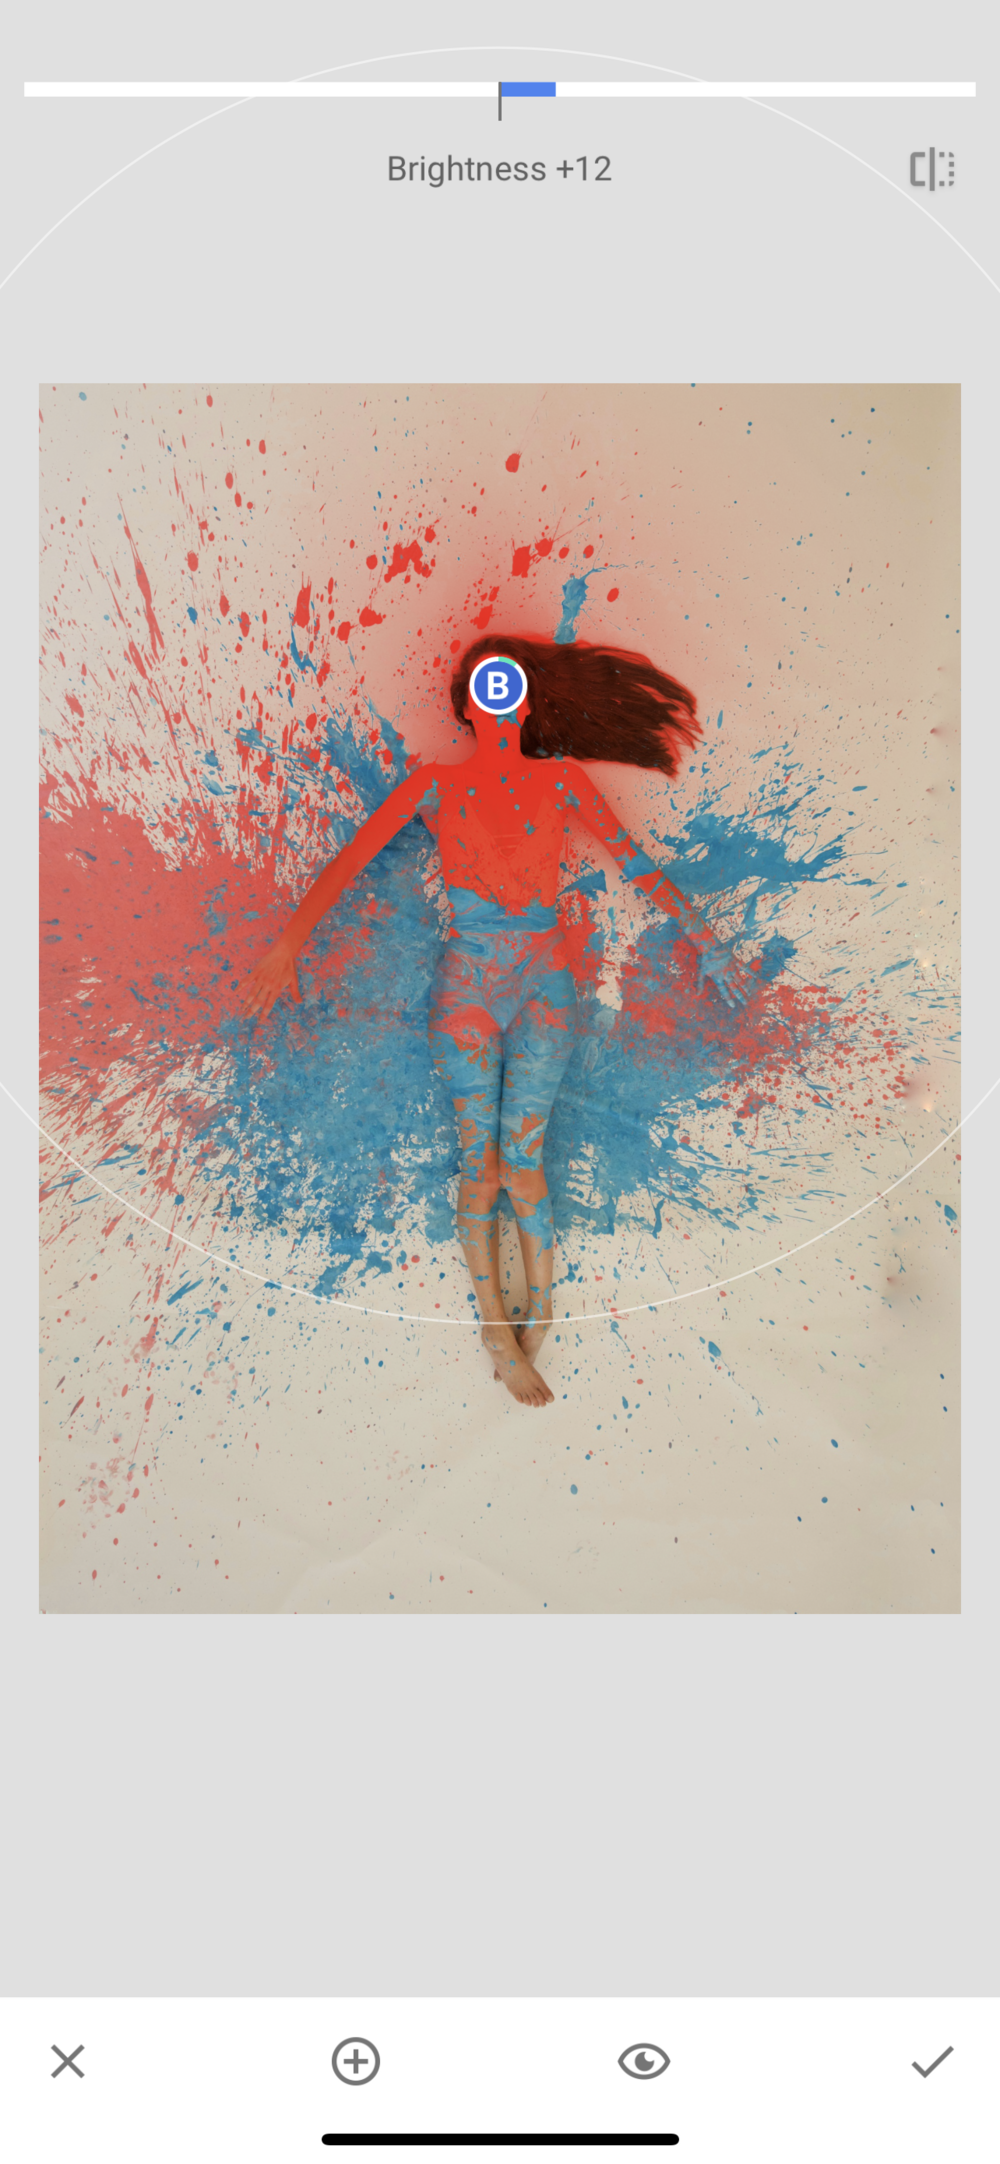
If the light doesn’t seem even I can use the spot exposure feature in Snapseed to brighten or darken a certain area of the image.
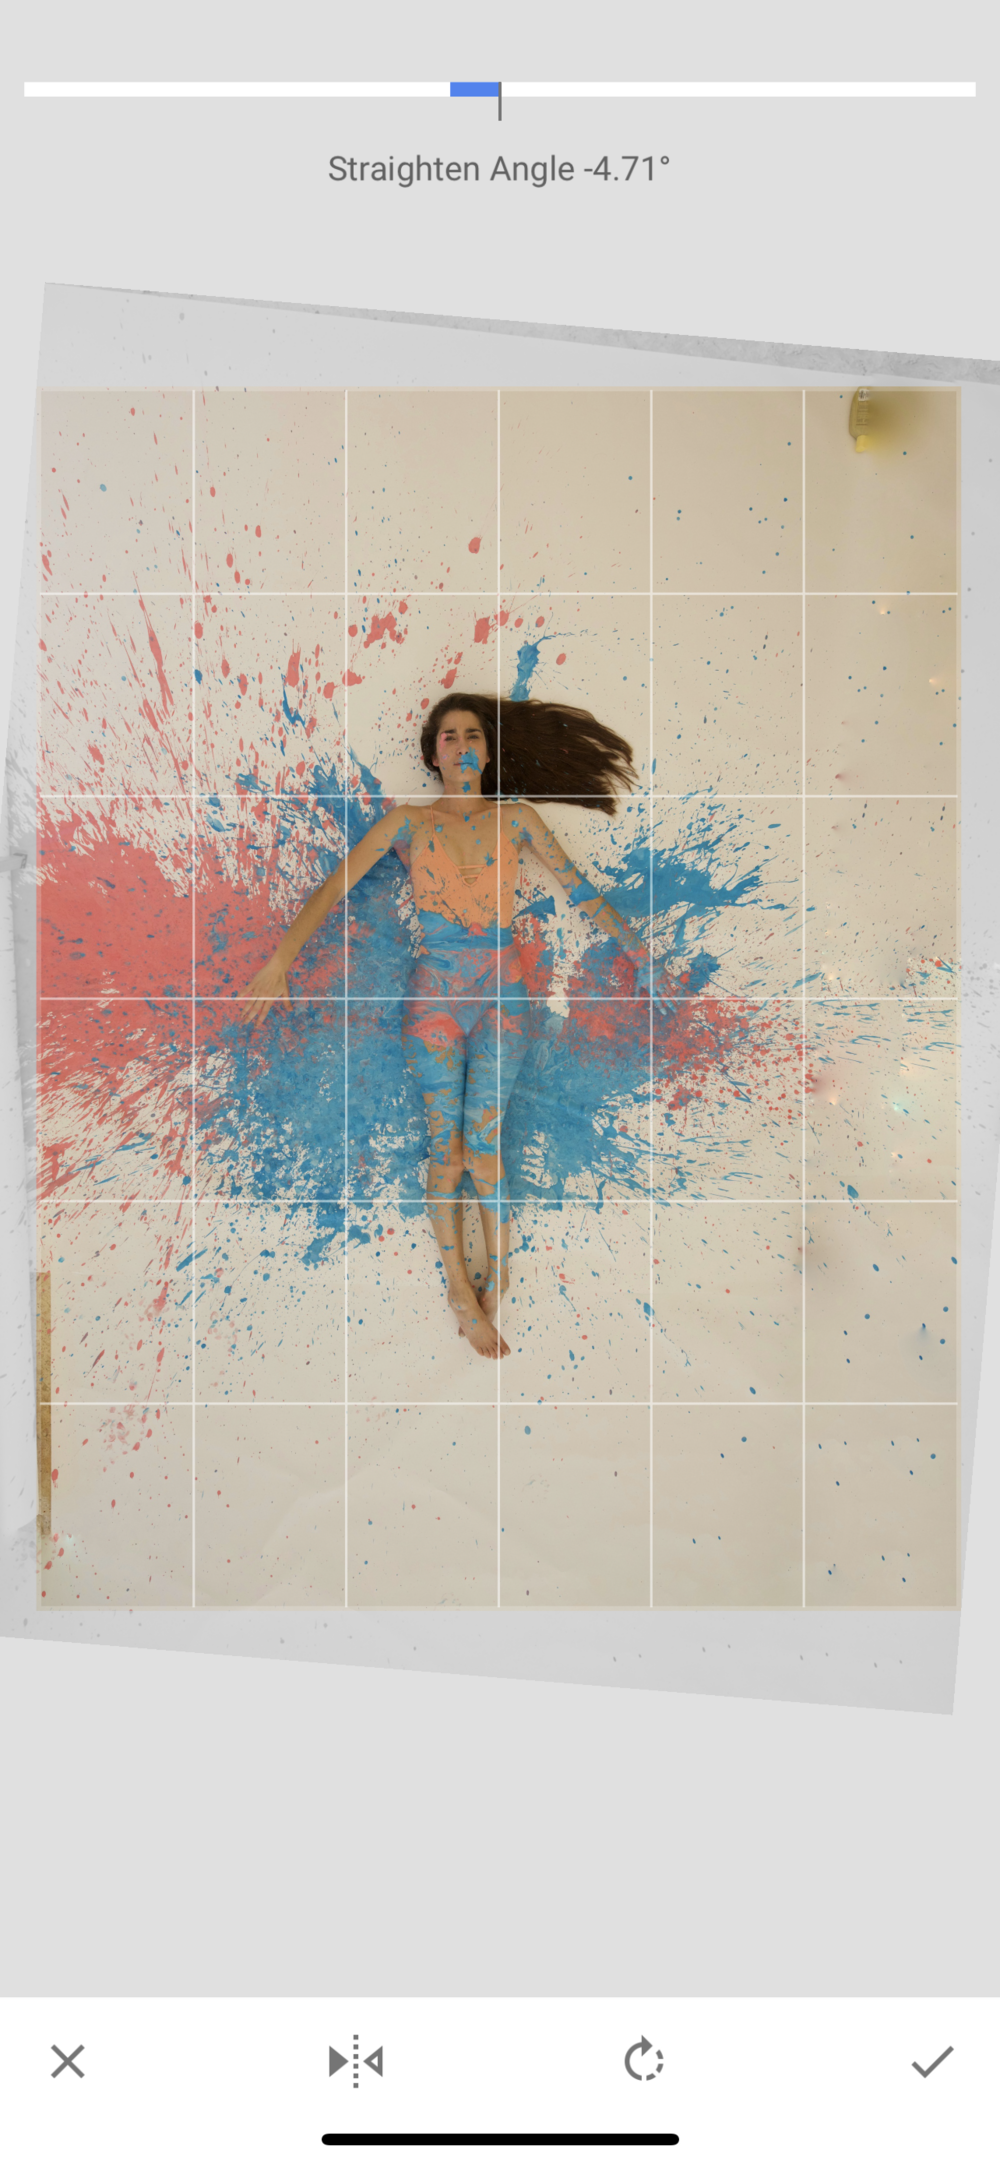
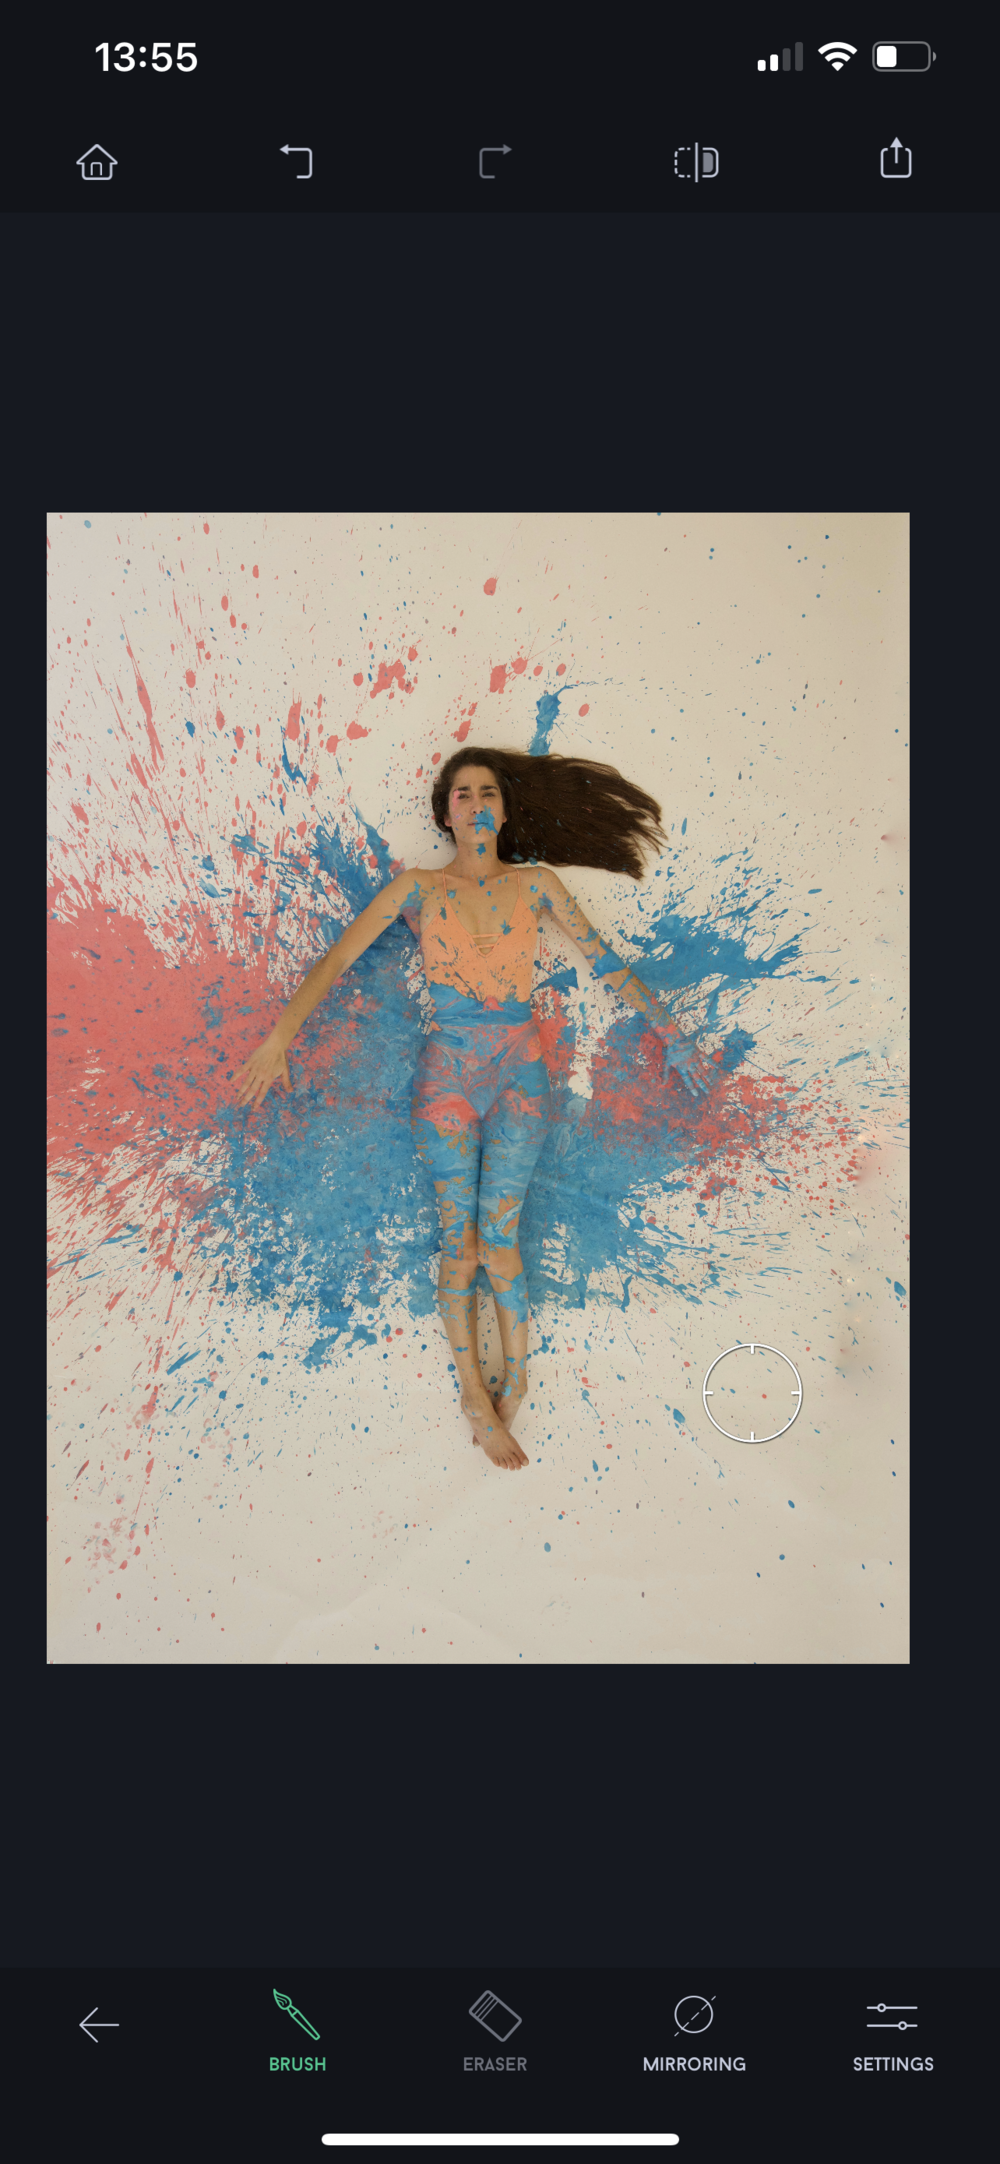
Once the framing and light is good, I move the image into TouchRetouch to clean up any imperfections from the extension as well as any distracting shadows or creases in the paper I’m laying on.
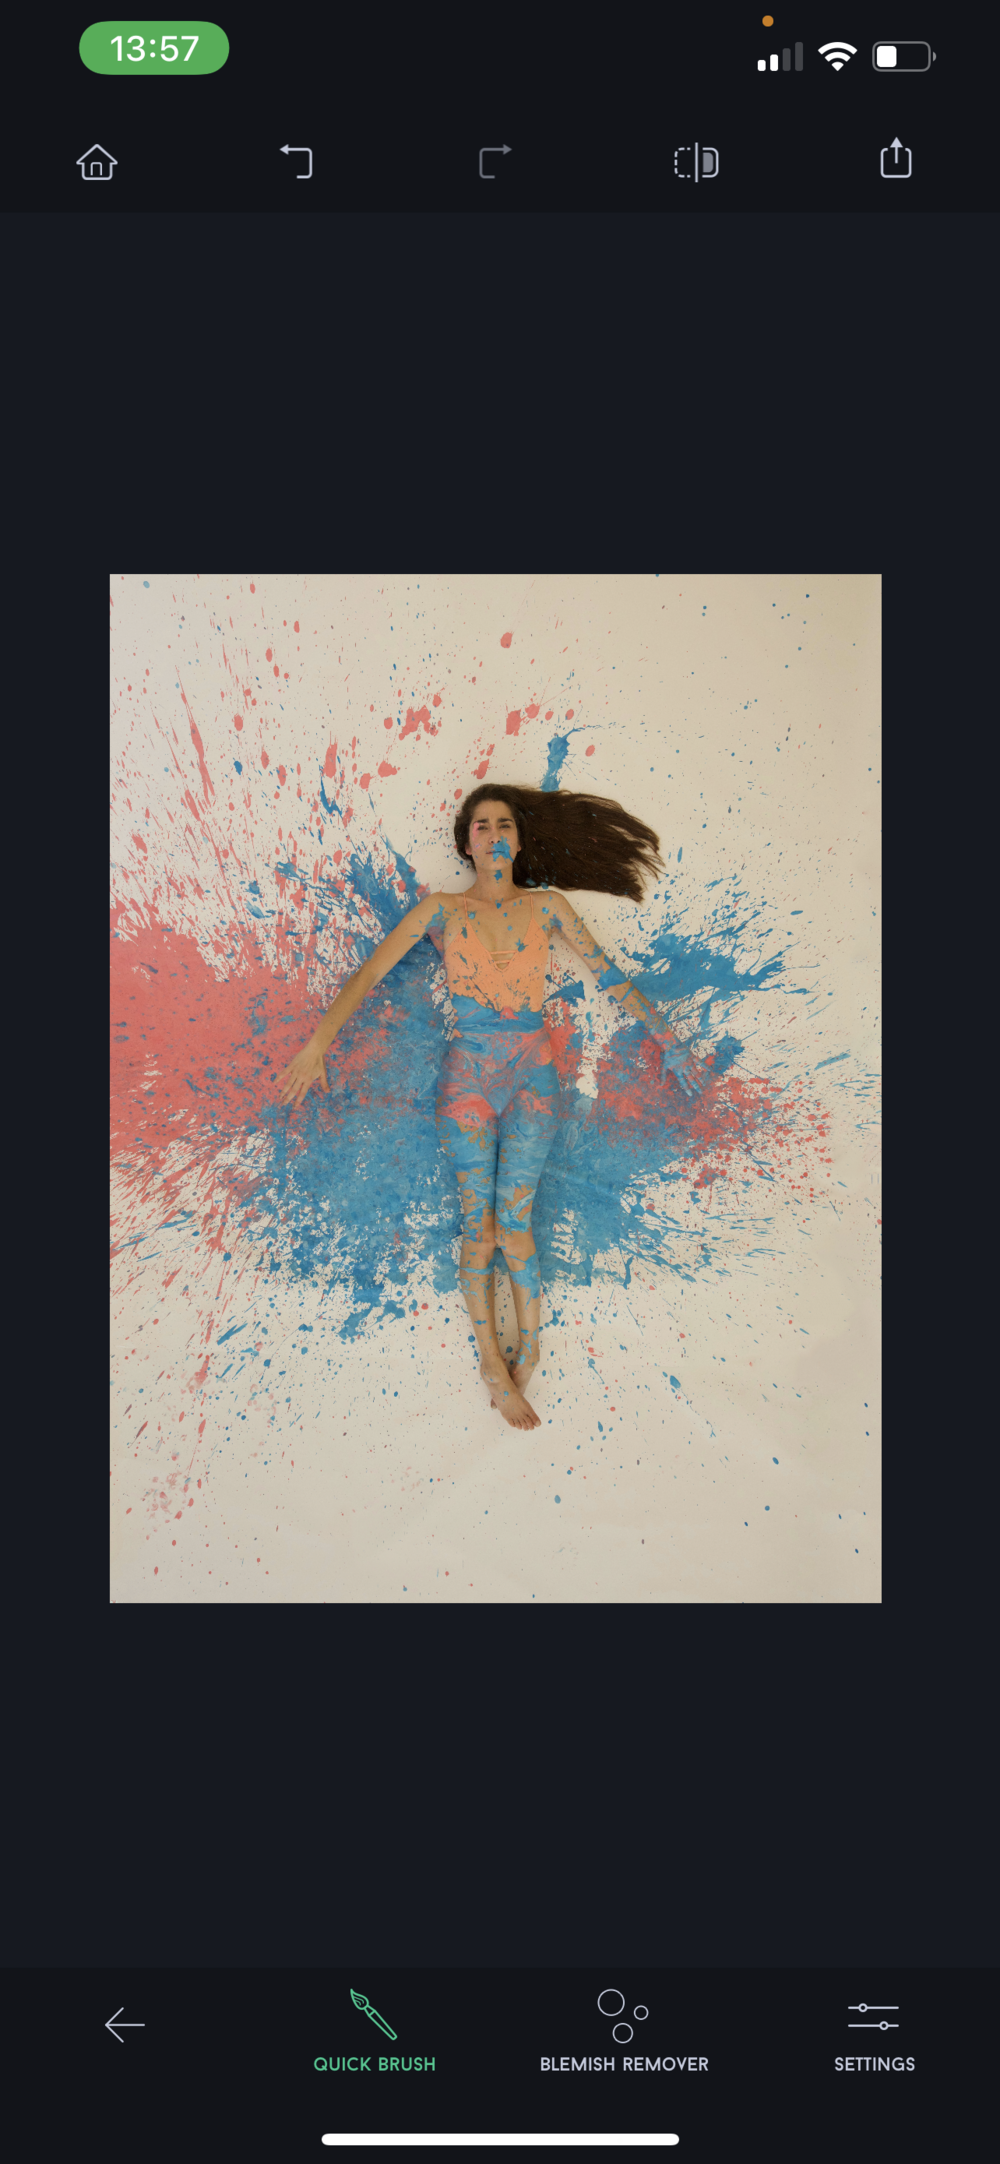
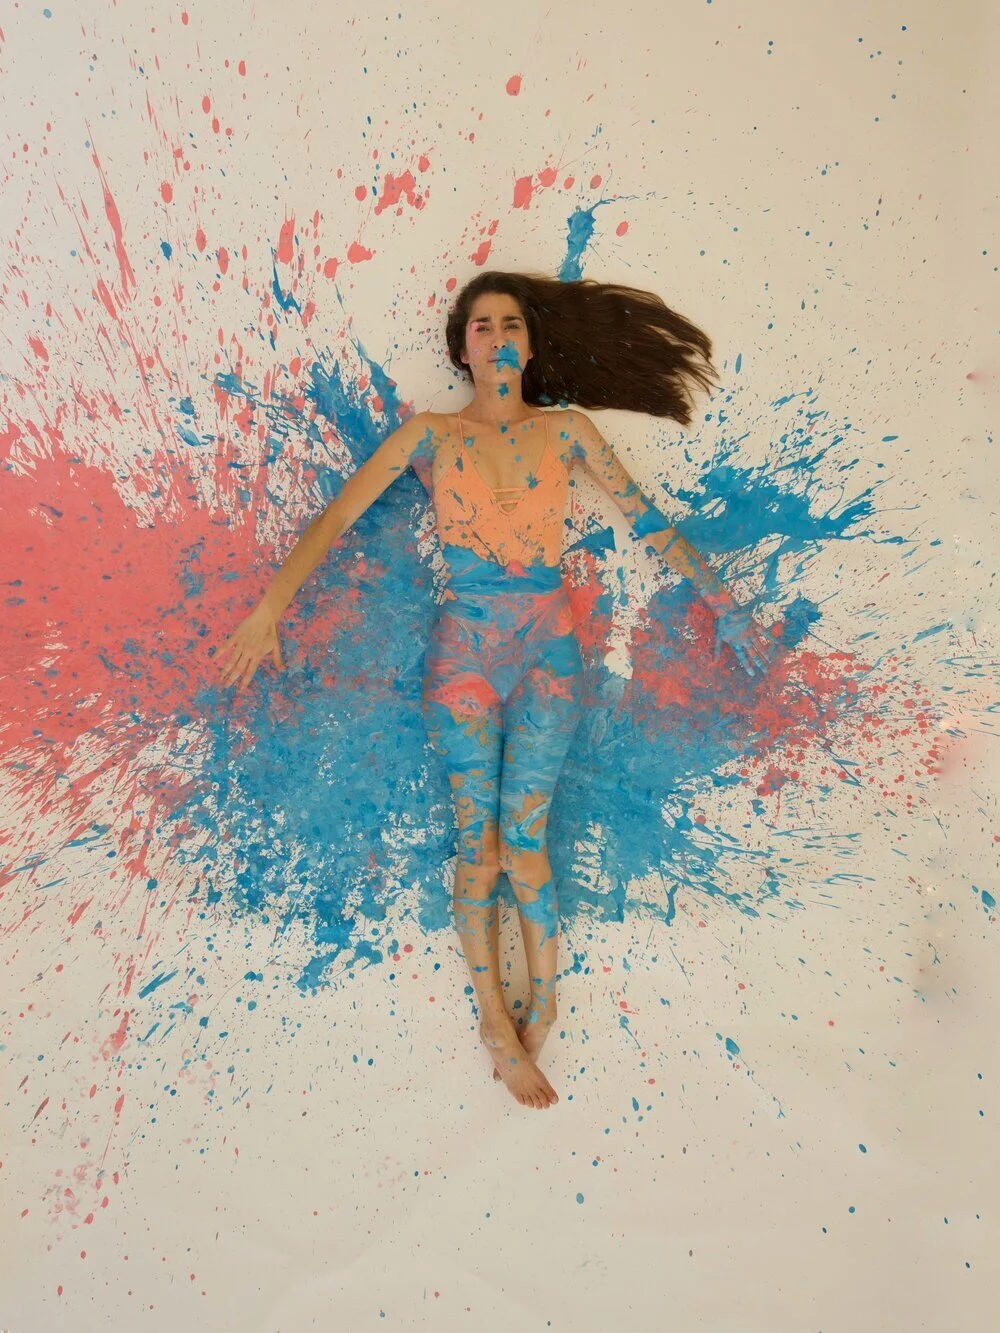
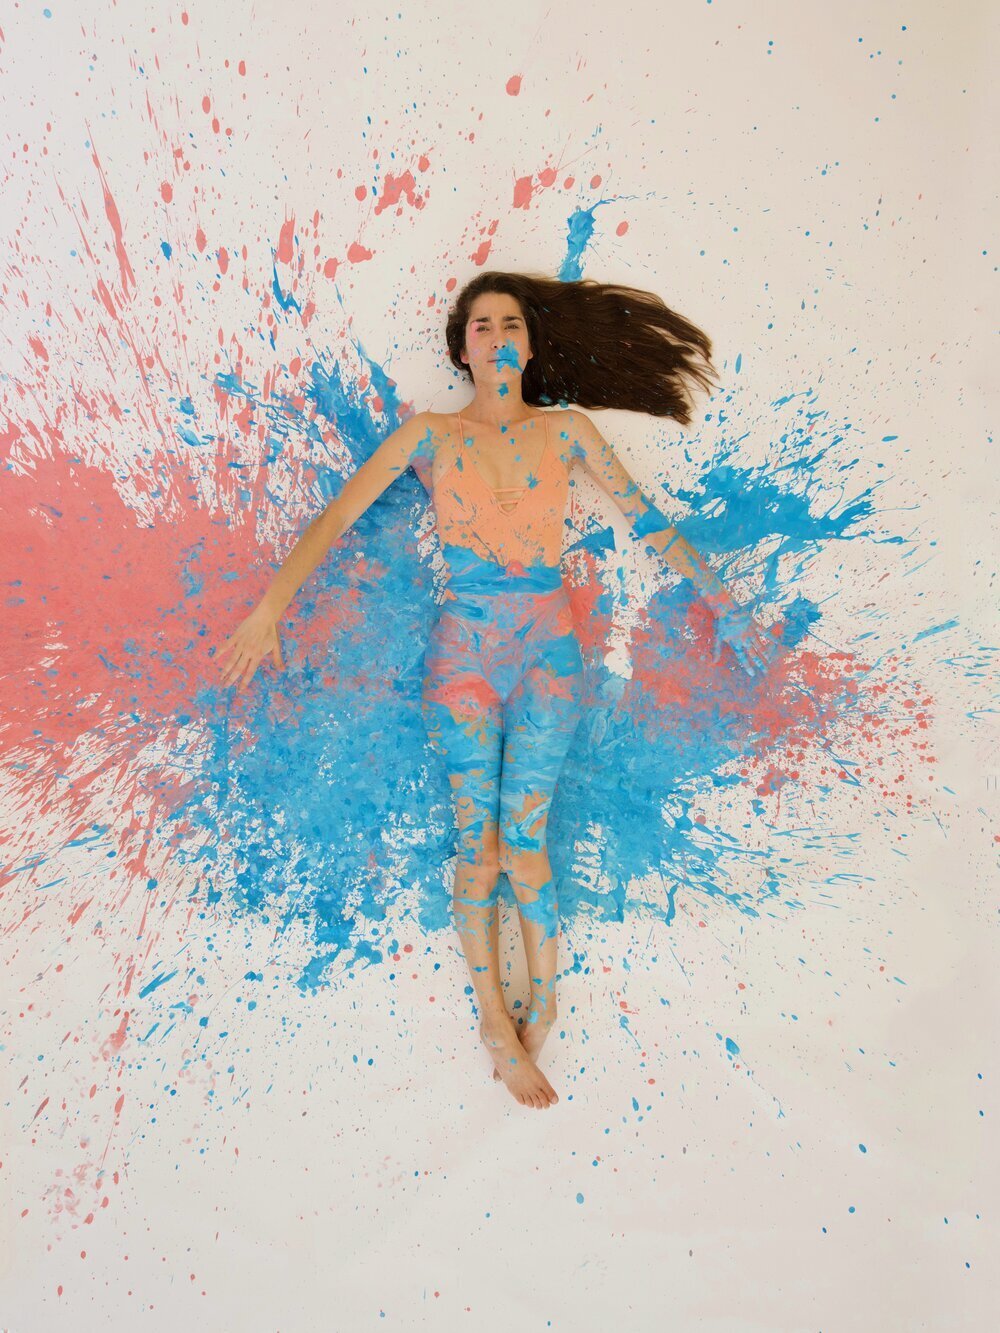
Finally I like to use VSCO or Lightroom Mobile to work on the color. I try to get my background to the cleanest white possible while maintaining my natural skin tone, which is something I generally don’t worry about when editing my videos.

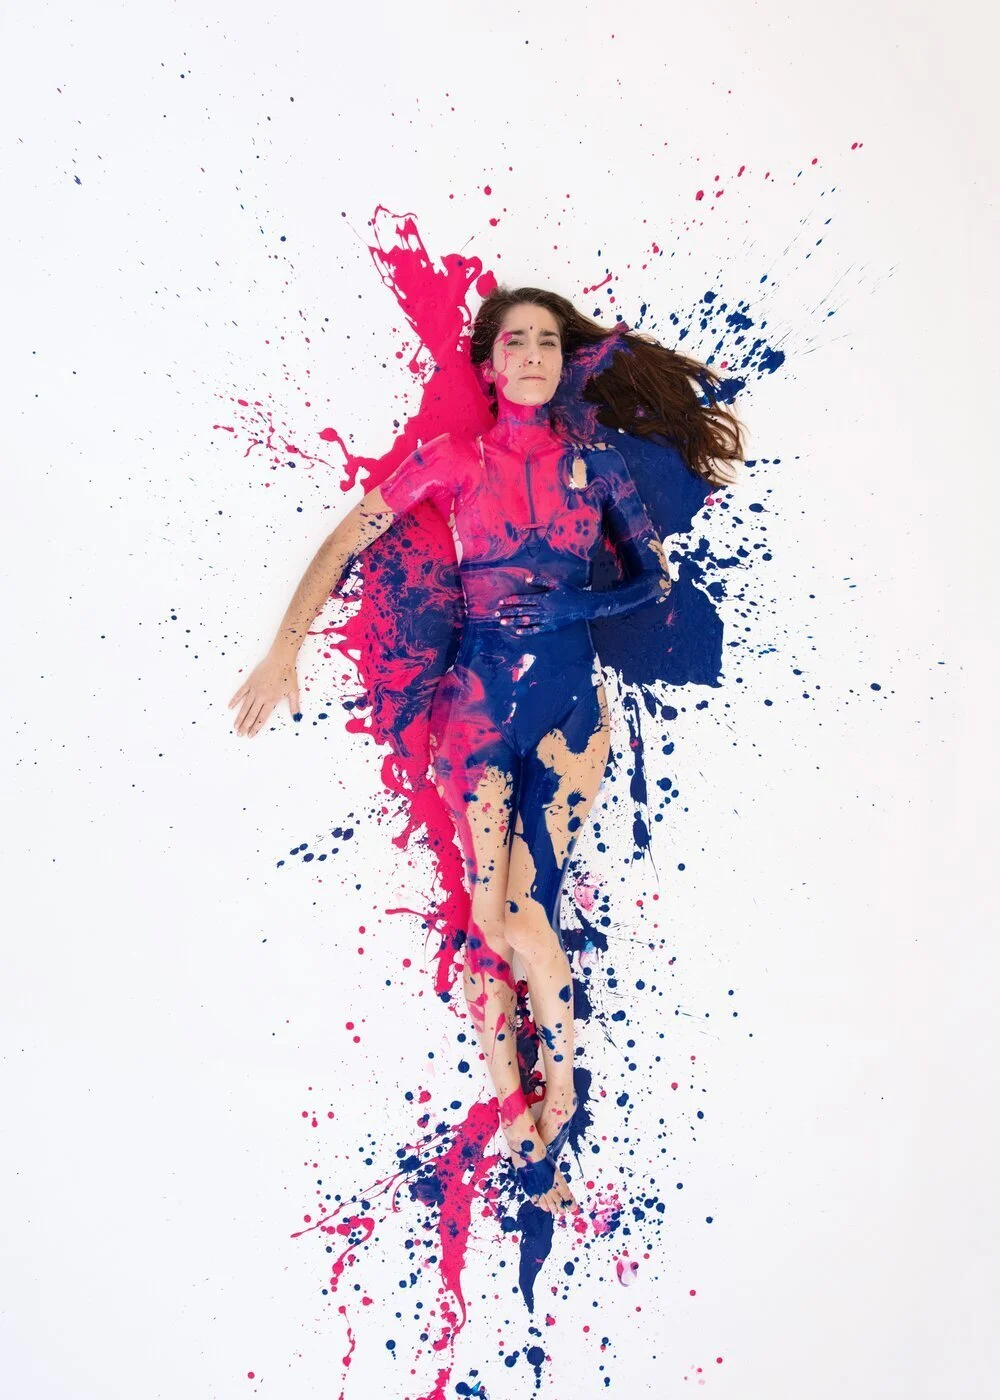
Here is what the finished product for the above edits looked like:
Finally, when it comes to my videos, I like to do my editing with InShot and I’ve made it my go-to video editing suite because it’s easy to use and allows me to add voice overs and control sound levels; it also provides me with the ability to adjust exposure, contrast, warmth, and many others options.
Often I will duplicate my projects so I can make small changes and adjustments until I get it just right.
Overall I really love this series, and I hope seeing how I create my final stills helps you in your artistic journey.
If you’d like to see the Behind the Scenes footage, click here. Or if you just want to watch me wash paint out of my hair, you can see that by clicking the link below…